
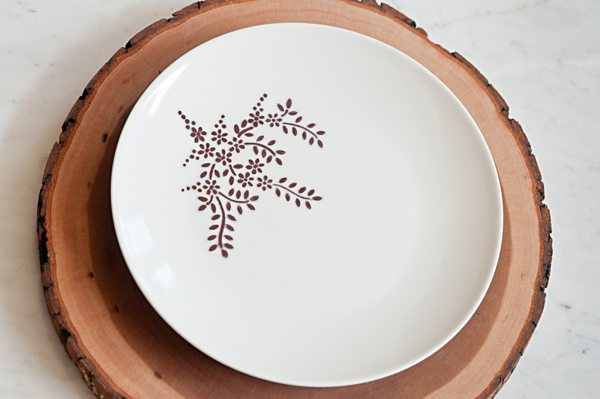
DIY monogrammed plates and mugs have been all over Pinterest lately and I decided to give this project a try. The biggest dilemma I faced was which method to use: Sharpie or Porcelain Pen to decorate my plate. I did some research on the old computer and couldn’t arrive at the best answer, so I decided to give the Sharpie method (since I already had Sharpies at home) a try.
I wouldn’t necessarily call this a tutorial, but I’ll walk you through the steps I took to create my plate. And maybe you’ll just want to give it a try! :)
Step One: Purchase a mug, plate, or dish to decorate. If you already have something at home, use it! I found my plate at Dollar Tree for, you guessed it, one dollar. Love that place!

Step Two: Find a design or font to use. I monogrammed mine, but you could draw a picture, use a stencil, or write something freehand on your plate. I used the font Sketchblock, which looks like this:
Sketchblock
You can download this font, and others, for free at www.dafont.com/sketch-block.font. Then print out your chosen letter, word, or design.
Step Three: Transfer your letter to your plate using transfer paper. I didn’t take a picture of this step, but cut out your letter with a border around it so you can trace it. Use either transfer paper, or use a pencil to scribble graphite on a paper that will transfer (a make your own transfer paper). Tape the letter to your plate and trace over it to transfer the design to your plate.
Step Four: Use your Sharpie to trace over the outline.

Step Five: Let your creation dry. I waited about a half hour.
Step Six: Place your plate in the oven to set the design. Now here is where things got a little tricky. Most directions I found suggested 350 degrees for 30 minutes. My plate did not say that it was oven-proof, and since I wasn’t sure if my plate was going to explode in the oven, I experimented a little. The first time I played it safe and tried 250 degrees for a half hour. That wasn’t enough. When I washed it, the Sharpie began to scrape off a bit. I hauled out my Sharpie again, fixed it up, and put it the oven for about an hour. This time however, I heated the oven up to about 450 degrees, turned it off, and placed my plate in there. This seemed to work. So far the design has stayed in tact. Regardless of whether you choose to use a Sharpie or a porcelain pen, I would recommend hand washing your dish.

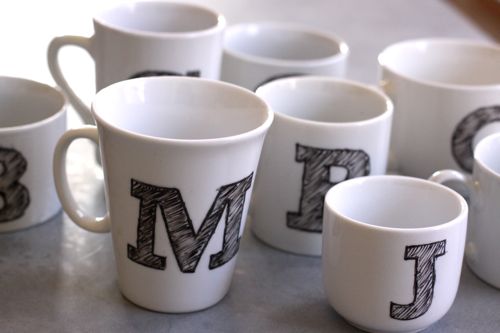
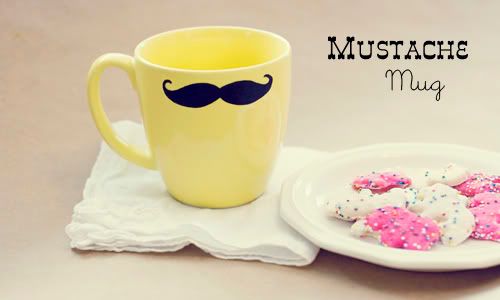
So there you have it, a monogrammed plate. Imagine the possibilities with this. Here are a few that I like:
Happy creating!


 Posts
Posts


0 comments:
Post a Comment